Love baking? If you love making baked goodies from scratch, then you probably worked with yeast. Fresh yeast makes the softest, fluffiest baked goods but old yeast could yield to dense, funky-tasty breads and cookies.
There are three types of yeast available on the market: fresh yeast (often called cake yeast), active dry yeast, and instant yeast. In this article, we cover all three varieties, so we’ve got you covered no matter which one you prefer. Let’s get into the nitty-gritty.
Can Yeast Go Bad?
Yeast goes bad if stored for too long or in improper conditions. But even if you keep good care of it, sooner or later it becomes “tired” and stops doing its job in baked goods. The latter happens most often to fresh yeast, which doesn’t have that long of shelf life.
Fortunately, you can proof the yeast before you use it to make sure it’s still potent. We’ll get into that process in a minute.
When it comes to signs of spoiled yeast, it depends on the variety.
Active dry and instant yeast come in powdered form, so if any water got into the package and there are any wet clumps or organic growth, discard it. Do the same thing if the powder (usually light beige) turns grey or dark brown.
As usual, give it a good sniff too to make sure everything is alright. If everything seems to be okay, but the yeast is quite old, proof it before using.
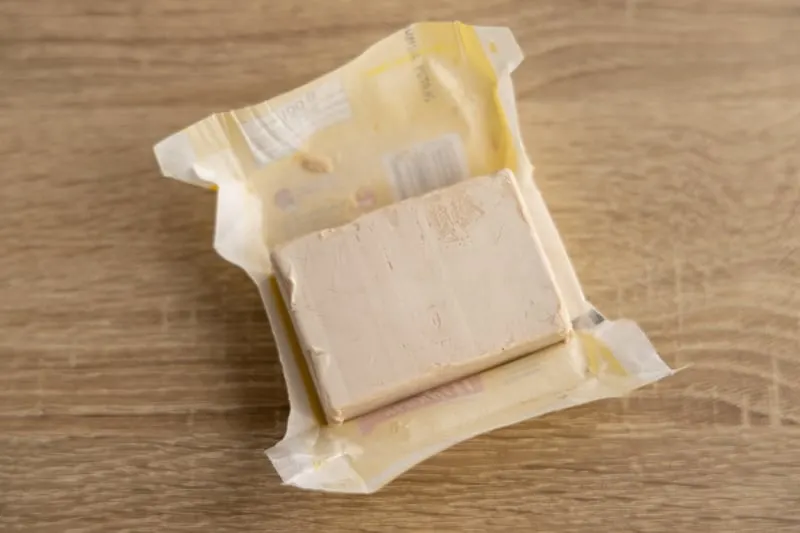
For fresh yeast, check for any discolorations on the surface and if it hasn’t dried up completely. In my experience, cake yeast loses its potency much sooner than any of the mentioned signs become apparent. In other words, chances are it might be “tired” already, even though it looks just fine.
Because of that, you should always proof yeast that’s nearing its date.
How To Tell If Yeast Is Still Potent?
The process of proofing yeast is relatively simple, but it takes at least 10 to 15 minutes to do it and wait for the results. Nevertheless, if your yeast is quite old, it’s always best to do the proofing before you do anything else. Because if you can’t get the yeast to activate, and don’t have a fresh pack on hand, you have to put that baking project on hold.
Just like with baking powder, it’s best to make sure the yeast is potent, or else you will end up with a baking disaster.
In the instructions below, you will find optimal water temperatures for proofing. If you don’t have a cooking thermometer, always use water that feels warm, but not hot.
I know “warm” isn’t an exact measurement, but it’s usually good enough for proofing the yeast. You don’t want to go with water that feels hot because temperature above 140°F or 60°C kills the yeast ([BRM]).
How To Proof Dry Active Yeast?
To proof dry active yeast, all you need is water and sugar. The process goes like this ([TOH]):
- Pour half a cup of warm (105° to 115°F, or 40° to 46°C, is ideal) water into a bowl.
- Add a teaspoon of sugar and 1/4 ounce (1 packet) of yeast, and stir the mixture.
- Let the bowl sit for 5 to 10 minutes.
- If it’s bubbly, the yeast is perfectly fine to use. If after 10 minutes there are no bubbles after those 10 minutes, the yeast is most likely “tired,” and you should discard it.
If the test went well, add the mixture to the other ingredients.
How To Proof Cake Yeast?
Proofing fresh yeast is quite similar, and it’s often a part of the recipe as one of the first steps. The whole thing goes like this ([RSCY]):
- Pour half a cup of warm (90° and 100°F, or 32° to 38°C, is ideal) liquid into a bowl. It can be water, but if the recipe calls for milk, use it instead.
- Stir in 1 teaspoon of sugar.
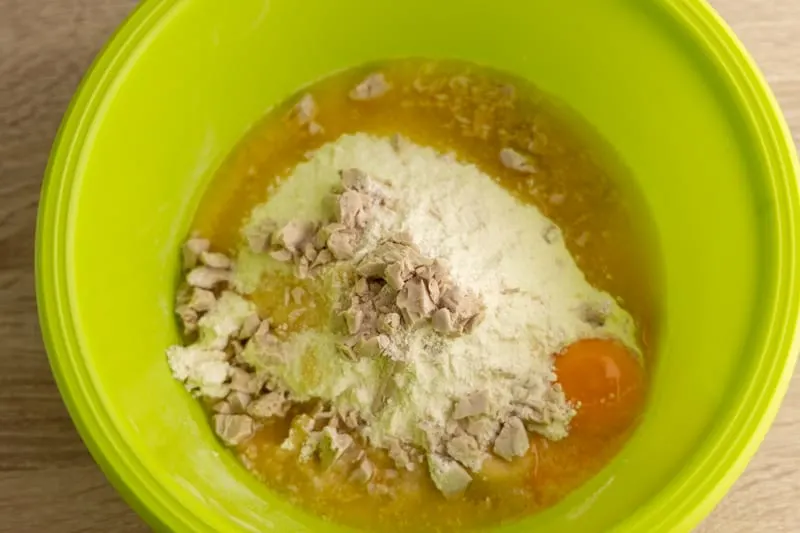
- Crumble cake yeast with a fork, then add into the solution and give it a good stir.
- Let the bowl sit for 10 minutes.
- If the yeast foams vigorously, that’s a sure sign it’s ready to be used. If there are no bubbles, throw it away.
If everything went fine, add the rest of the ingredients to the solution.
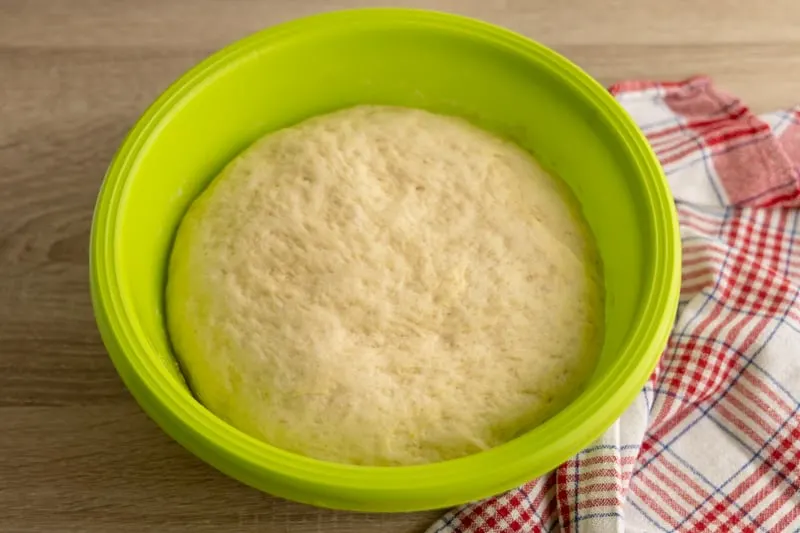
Please note that not all recipes follow this template to a T, and that’s fine. For one of my favorite cakes, I add all the milk the recipe calls for (a bit more than 1/2 a cup), and a couple of tablespoons of flour too. And instead of bubbles, after those 10 minutes of waiting, I expect the batter to double in volume. There is more than one way to skin a cat.
How Long Does Yeast Last? How To Store Yeast?
When it comes to shelf life and storage methods, it depends on the variety of yeast we’re talking about.
An unopened container of active dry yeast should sit in a cool and dry place. The pantry is a perfect choice, but the fridge or even the freezer is okay too. In such conditions, dry yeast should last about two years ([RSF]).
Once you open the container, the yeast requires storing in cold temperature. That means it should sit either in the fridge, where it can last up to 4 months, or in the freezer, where it can retain quality for about half a year ([RSF]).
Even if you’re not much of a baker and cookies aren’t on the menu every single week, that should give you enough time to go through the container. Of course, even if the yeast is a bit past the mentioned periods, it still makes sense to give it a try.
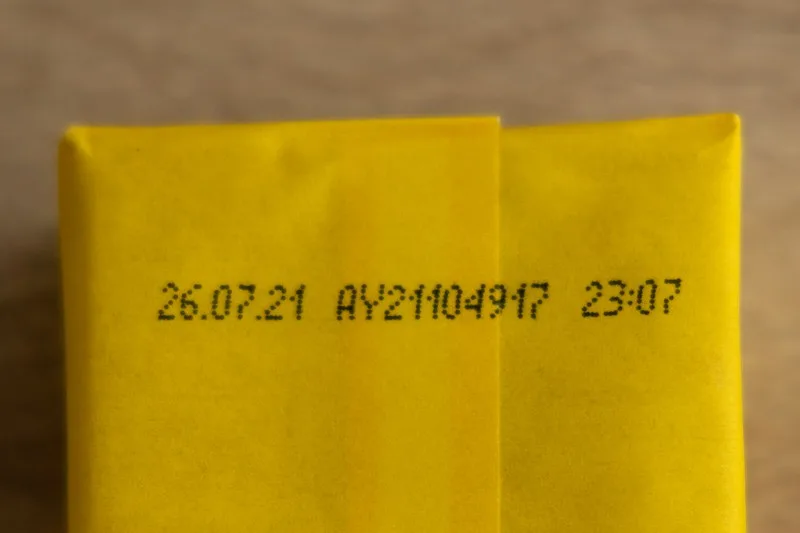
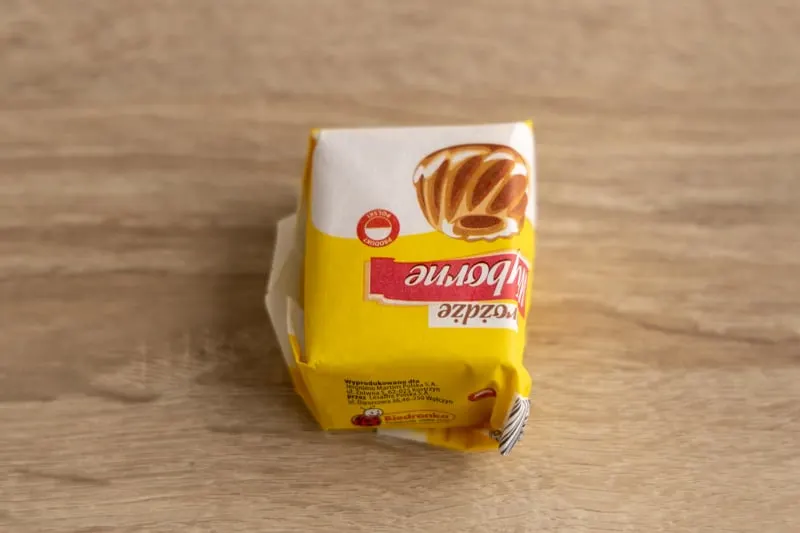
Fresh yeast has a much shorter shelf life. It usually lasts around 2 to 3 weeks from the packaging date, so you pretty much buy it right before you need it. It’s in the refrigerated section, and you should keep it in the fridge too.
Based on my experiences, it doesn’t last much past the date on the label. If it’s a couple of days old, sure, give it a go with the proofing method. But don’t be surprised that it’s already not potent enough to bubble.
In a Nutshell
- If active dry yeast has changed color or there are wet clumps, discard it.
- Discolorations or microbial growth on fresh yeast is a sure sign of spoilage.
- If the yeast is old, proof it before you start your baking project.
- Dry yeast needs a cool and dry place. Once you open the container, keep it sealed tightly in the fridge or refrigerator.
- Fresh yeast needs to be refrigerated at all times. It lasts only a couple of weeks, so don’t buy it in advance.